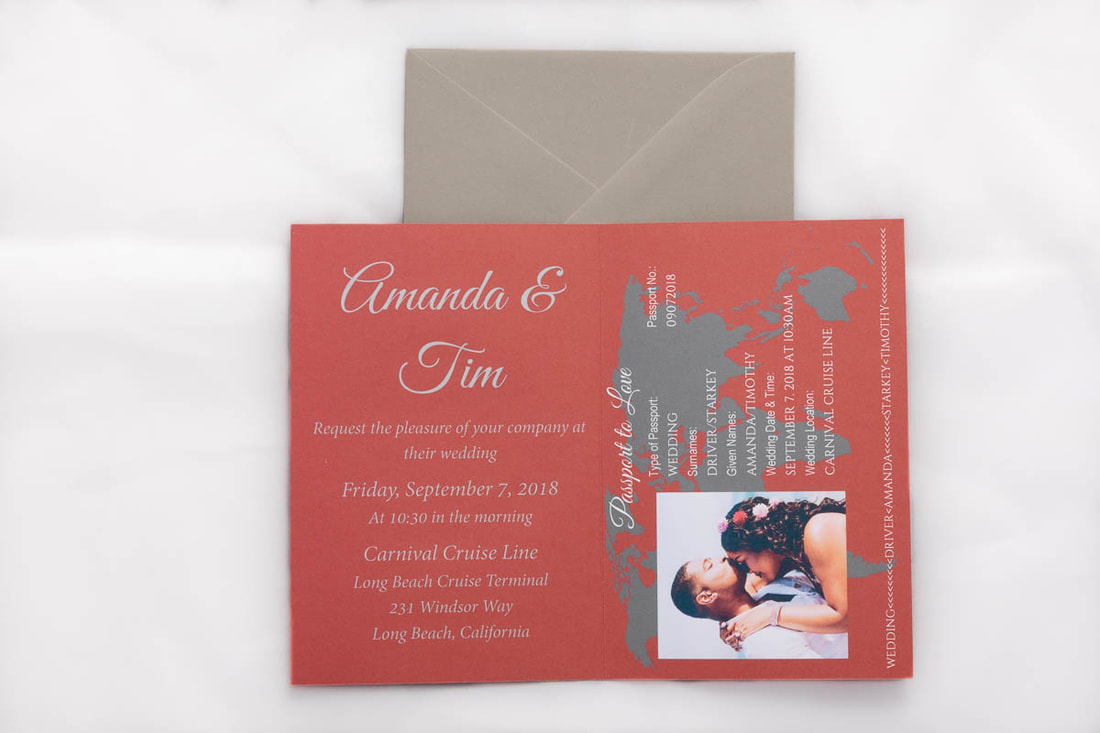
 Passport Wedding Invitation for a wedding on a cruise ship Every stationer has a design bucket list. Designs we want to do for a client. I am no exception. One of those on my design bucket list was a passport wedding invitation. So when Amanda contacted me about a passport invitation I was so excited! (Note: I am excited to hear from everyone but every so often there is a little extra excitement). I was ready to jump into this project. I have a passport so I know what they look like. Lol. But one element that needed to be considered was what makes it art versus a felony for falsifying a legal document. I am not one for committing crimes (I won’t copy a design either). What I learned was as long as it didn’t look like an actual passport of any country in the world I was good to go. Sweet! Amanda and Tim’s colors were burgundy and gray. I suggested burgundy for the background color on the invitations and gray for the font and envelopes. They really liked the idea. Amanda sent some pictures that could work and told me which ones were her favorite. I thought a nice element to add depth to the design was a world map behind the writing on the page with the details of information about the wedding. Amanda and Tim really liked the idea. As a bonus it made the text on that page slightly easier to read. 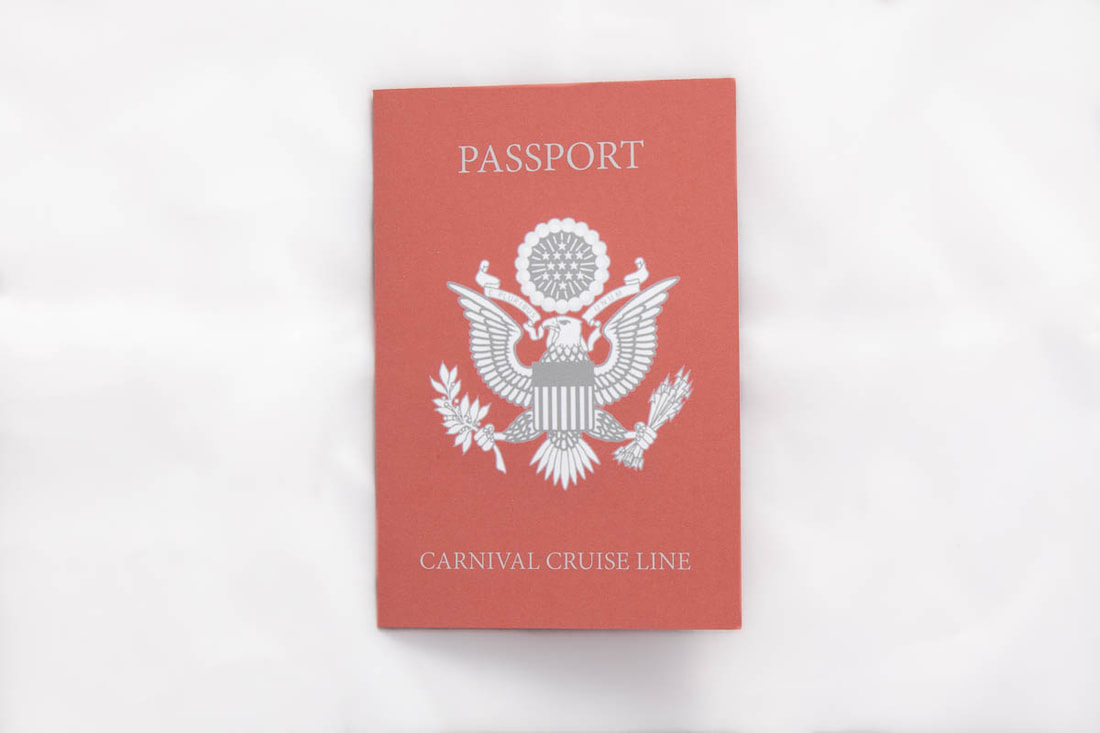 Front of passport wedding invitation Once the design was done I began printing. I did a test print and the gray was too dark and made it almost impossible to read. I had to lighten the gray a little to make it easier to read. This is a big reason why I prefer doing my own printing instead of outsourcing so that I can adjust during the printing process to make the best final product.
The passport invitation was so much fun to work on and I was so excited for the end result. The passport style was perfect for their cruise destination wedding. Keywords: wedding, destination wedding, passport wedding invitation, passport invitation, destination wedding invitations
0 Comments
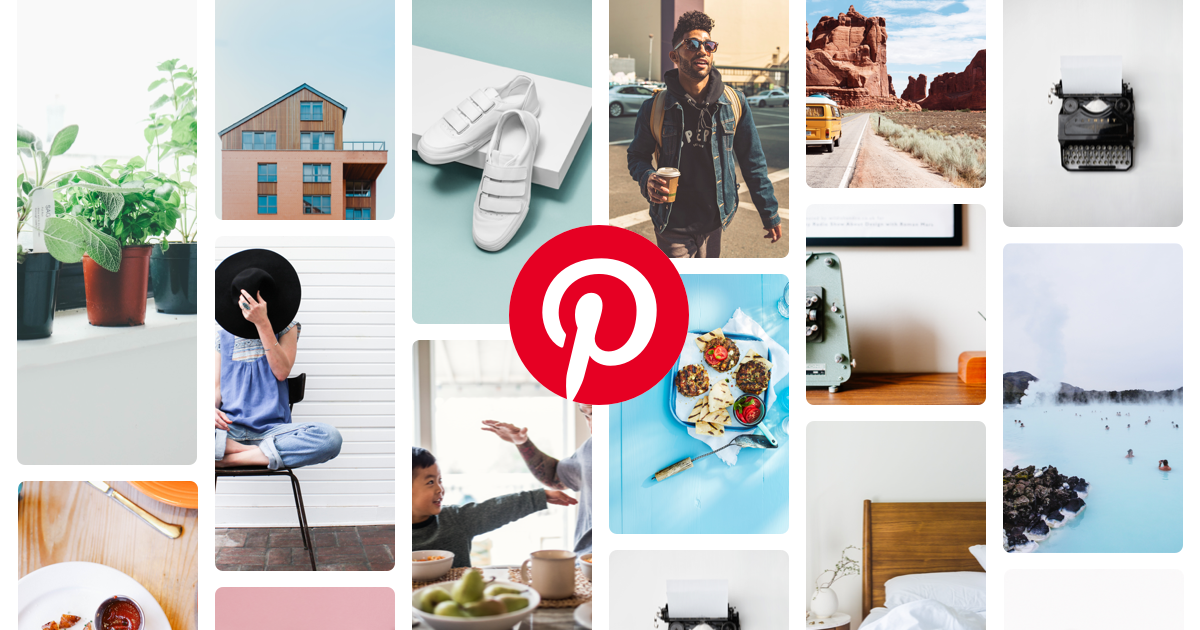 Oh…. Pinterest…. My best friend and my biggest enemy when it comes to designing wedding stationery. Pinterest wasn’t around when I got married (I got married in 2006 and Pinterest launched in 2010). But if it had I probably would have gotten very overwhelmed! I was limited to wedding magazines and google images searches. It was the dark ages! But when it comes to wedding stationery there are good things and bag things about Pinterest. Why I LOVE Pinterest:
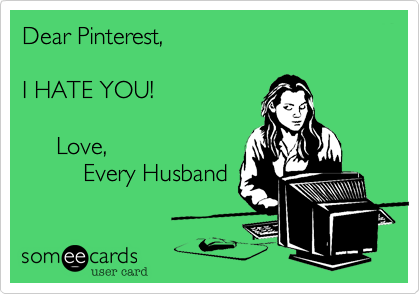 Love, Every Wedding Stationery Designer Why I HATE Pinterest:
Keywords: wedding, wedding inspiration, Pinterest, Pinterest fail, wedding invitations, save the dates 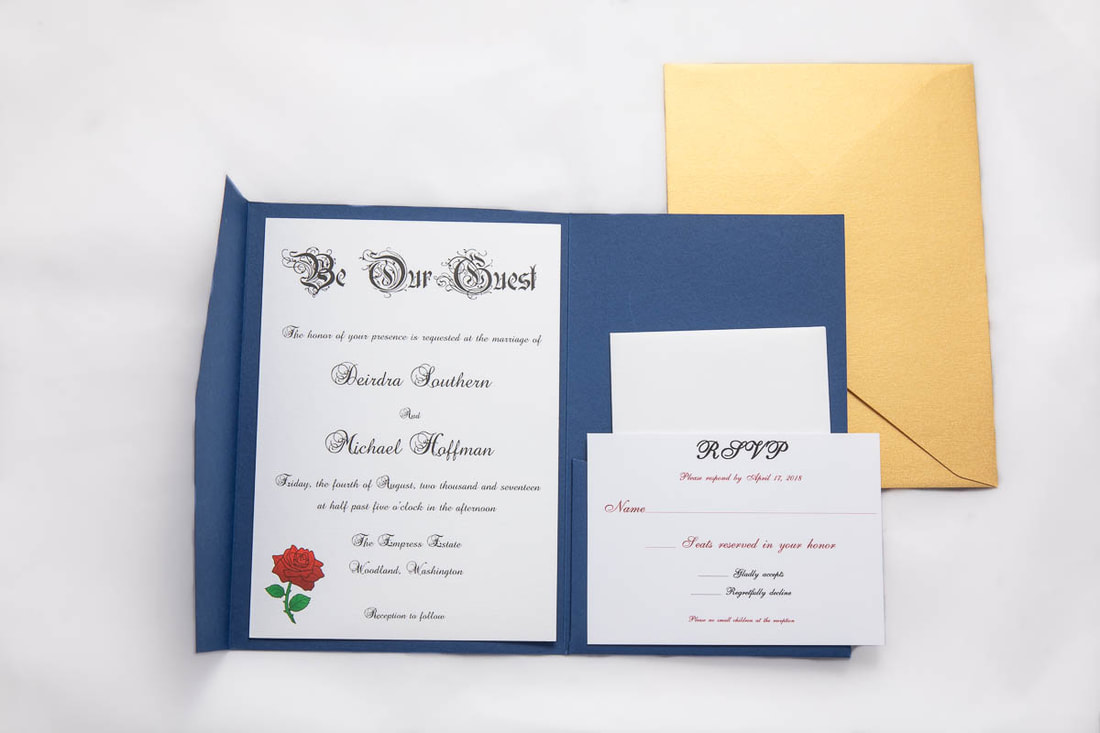 Working with Deirdra and Michael was so much fun. Their design process included many aspects of wedding stationery that I love: great couple, fun theme, elements you can’t get when you buy from a big online retailer, and creating something super unique.
It all started on a Saturday in May. I was all prepared for a nice quiet Saturday in my pajamas and sitting on the couch with my laptop getting some work done. But then my phone rang and Deirdra was feeling stressed about her invitations and they needed to be out to their guests in just a few weeks. So an hour later we were meeting to work out their design. Deirdra and Michael were such a sweet couple. They were having their wedding at The Empress Estate in Ridgefield, Washington. Beautiful doesn’t even begin to describe The Empress Estate. They also were having a Beauty and the Beast theme. Love! Love! Love! This was going to be a lot of fun. Their colors were sapphire and gold and they wanted to incorporate roses as well. We also decided putting “Be our guest” at the top of the invitation would be a great way to pull in the theme. Now that we had a design in mind it was time to figure out the actual paper pieces. Anytime the design is simpler I suggest a textured card stock. It is a subtle detail that makes a big impact. Two common textures I recommend are linen and eggshell (looks kind of like the texture of a painted wall). They agreed that a texture would do nicely. They chose eggshell. They were wanting a little more pizazz on their invitations so we talked through some options. It was also a nice way to add in more of the sapphire and gold. They chose to have the invitations mounted on a sapphire gate card tied closed with a gold ribbon and to use a gold shimmer envelope. That envelope was going to make quite the impression before their guests even opened it. I always suggest colored envelopes to my clients because most mail comes in white envelopes. Your invitation is not “most mail” and it should stand out. To help them get their invitations out in the mail as soon as possible I delivered the envelopes for them to be able to start writing out the addresses before the invitations were done. About a week later I delivered the invitations to them. I was very excited to show them the invitations but also a little nervous (I am always nervous before a delivery). But they loved them! That is my favorite part. Keywords: wedding, wedding invitations, wedding theme, gate-fold invitation, Beauty and the Beast, theme wedding, The Empress Estate, Washington The biggest cost of your wedding will most likely be the food. You don’t want to pay for more people than necessary and on the flip side you want to make sure there is enough food. But getting your guests to RSVP will be a headache in your wedding planning process. There is no guaranteed way to make your guests RSVP but there are some ways to increase your chances of getting your guests to RSVP. There is no perfect solution (or I would be rich!) but these steps can help.
Keywords: wedding, RSVP, wedding date, wedding budget, postage, stamps How to handle no plus 1s is similar to how you handle having a no kid wedding. There are many reasons why a couple decides to not include plus 1s (or kids). Every guest you invite is going to have a cost associated with them. Maybe for you it is that you only want those that you know attending your wedding. Maybe you are wanting to cut costs. Maybe your current guest list is close to the venue maximum. Whatever your reason for limiting plus 1s there are 2 questions that arise.
Whatever your reason for not allowing +1s (or no kids) be confident in it. Not everyone will be supportive but if you feel strongly about it, stick to it. Most importantly, be consistent. Be all or nothing. Exceptions can be made for the wedding party but there shouldn’t be exceptions for anyone else. Don’t bend the rules for anyone or before you know it the rules won’t exist anymore. Keywords: wedding, wedding guests, wedding budget, wedding tradition, who gets invited There are a lot of terms that you will encounter in wedding stationery once you become engaged. Some of the terms you have probably heard of but there are probably some you haven’t. Read through this list for all the terms you need to know.
Invitation: The invitation contains all the information necessary for your guests to actually attend your wedding including the couple’s names, who is hosting, date, time, and location. The invitation is a single card that is part of an invitation suite. By etiquette it should not include RSVP info, registry info, or wedding website on the actual invitation itself. All of that information should go on an insert card in the invitation suite. Invitation suite: An invitation suite includes all the pieces that will be mailed together to each guest household. The invitation suite can include the invitation, RSVP, directions card, reception card, wedding website card. Save the date: A save the date tells your guests the date of your wedding to get on their calendars. Traditionally save the dates only include the couple’s names, the wedding date, the location (usually city and state only), and the wording “invitation to follow.” About half of the couples I work with include pictures but that is not required. Only those that will definitely be invited to the wedding should get a save the date. Wedding announcement: After your wedding, if you have people you would like to inform that you got married (like if you eloped, had a small wedding, or a destination wedding) you could send a wedding announcement. Using a picture from the wedding is usually included. You will want to include the date and location of your wedding including your names. You can decide if you want to use your maiden name or your married name. RSVP: An abbreviation of a French phrase for “respond please.” An RSVP is your way of asking your guests to let you know if they will be attending the wedding. If you are having a plated dinner this is also where your guests will inform you of their dinner choice. Traditionally this is a separate card included in the invitation suite but as technology as advanced many couple utilize online RSVPs. Insert: Any additional cards included in the invitation suite. Examples of inserts are reception cards, direction cards, wedding website card, and accommodations. Mat: A mat is a piece of card stock that is added to the back of an invitation to give a layered look. Typically the mat is ¼” to ½” bigger than the invitation that is being mounted. Pocket: A pocket has 3 panels: a tab/flap for folding, a panel for mounting the invitation to, and a pocket for holding insert cards, the RSVP card and envelope. When folded it will look like an envelope but it will still need to be put into an envelope for mailing. Belly band: A piece of paper or card stock normally 1-2” thick that is wrapped around a pocket or invitation suite to hold it all together. Can be plain card stock, custom printed, or laser cut. Envelope liner: A piece of paper mounted inside an envelope flap to make the envelope more unique. It can be a solid color, patterned, custom designed, or foiled. Inner Envelope: Traditionally wedding invitation suites included two envelopes- one for mailing and one to keep the invitation nice and neat. An inner envelope can also help make sure guests know who is invited by printing the names of the invited guests on that again (in addition to the outer envelope). Outer Envelope: This is the mailing envelope that you will write the guests’ names and addresses on. Over time, this has become the only envelope used in wedding suites as the traditional inner envelope has fallen off in popularity. Wedding Day Stationery: All of the paper items that are used on the wedding day itself, during the ceremony or reception. Examples of wedding day stationery include menus, programs, and signs. Menu: A menu includes what is being served during the reception. Normally each course is listed separately. Program: This is used during the wedding ceremony. Traditionally, this includes the order of service of the ceremony as well as names of the parents of the couple, the wedding party, and the officiant. Escort card: This is a card that tells the guest what table they are to sit at. This will tell them the table to sit out but nto what seat to sit at once they get to the table. The same information can be conveyed by using a Seating Chart sign. Place card: This card is placed at the seat at the table that they guest is to sit at. Keywords: wedding, wedding budget, wedding theme, invitations, save the dates 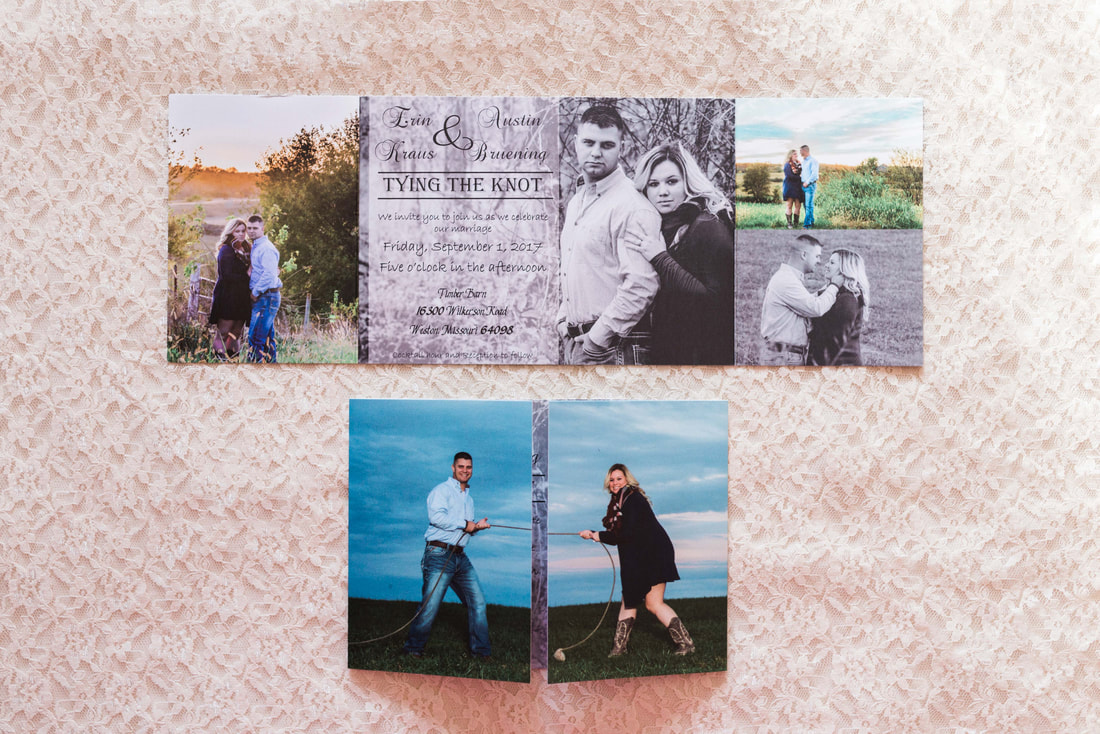 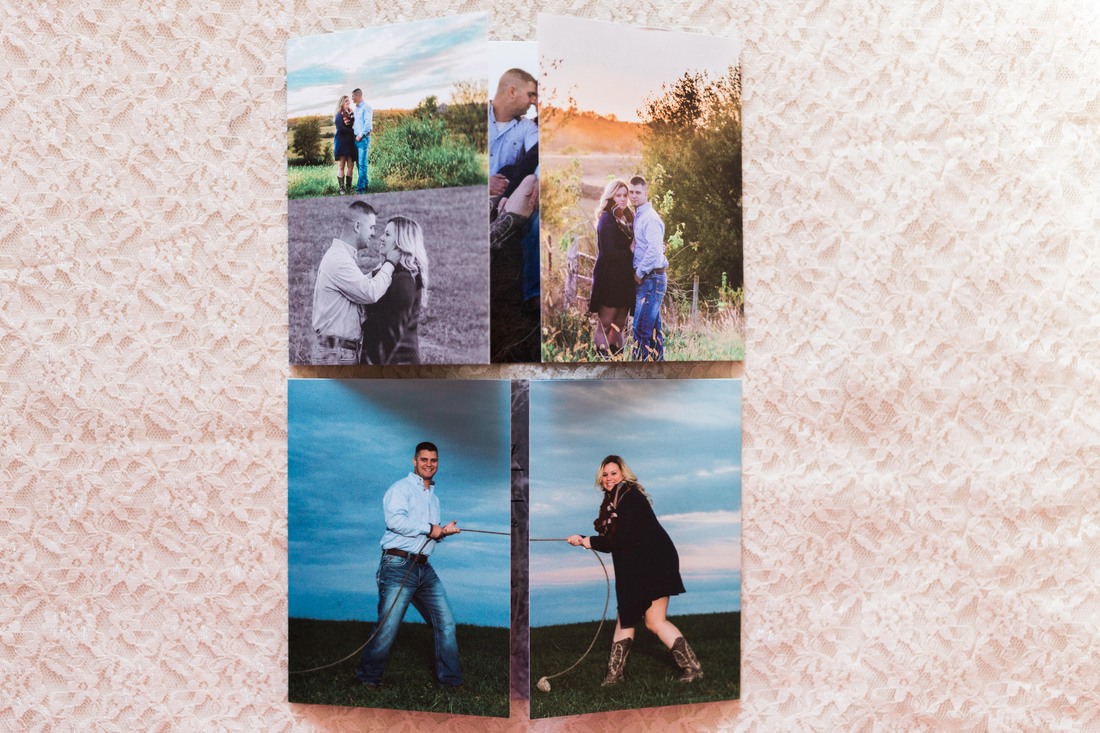 Pinterest is my best friend and my worst enemy! I love when couples go on there and find stationery they like and can show me what they like. I am a visual person so to see what they like really helps me create their design. I especially love it when they send me multiple ones they like and want to pull elements from different designs and make a truly unique new design. Erin and Austin are a very sweet couple who live nowhere near me! Lol. The beauty of Facebook. And they had a very clear idea of what they were looking for in their invitation. So much so that they planned their engagement pictures to be able to pull it off. Erin thought since she found the design on Pinterest it would be easy to find a designer to order it from. That was not the case unfortunately. Enter me! Erin and I were in a common Facebook group and I had posted about my services. Erin responded, and we started talking over IM. I learned quickly that there was quite a bit of distance between us (they were in Missouri and I am in Oregon) but that is not an obstacle in my line of work. My items ship well! Erin sent me a picture of what she was looking for and my first reaction was “Whoa!” I was excited to do this interesting design. So, time to jump in. I asked her to send over the pictures and I would get started. I needed to figure out the flat size and then where the folds would be plus adding for the bleed (a bleed is required when the design goes all the way to the edge). My first attempt was an epic fail. The folds were in the wrong spots and the pictures weren’t centered. Bonus was I now had a hard copy to measure the old-fashioned way (you know… with a ruler). Double bonus: now I have a template for anytime someone wants something similar in the future. I had already used the template since. Next came the text. There needed to be a subtle layer between the picture and the text to make it more legible. Because at the end of the day if no one can read it, it doesn’t matter how cute it is. First go around I had the day of the week wrong and flipped 2 letters in the groom’s last name (note: an example of the importance of reading your proofs with a magnifying glass). I had gotten so focused on the design that I had lost focus on the text. A lesson for me. Once I got those corrected and got the thumbs up, off to print it went. This design took quite a bit of time but I enjoyed every minute of it and was very happy with the result. Stepping out of the box will always serve me well. Success and failures are both learning opportunities. This invitation always gets a lot of attention anytime I show it off (which is a lot!). Thank you, Erin and Austin, for trusting me with your vision. Keywords: wedding, wedding invitation, gate fold invitation, custom wedding invitation design, photo wedding invitation, Pinterest Photos by Marina Goktas Photography. www.marinagoktas.com 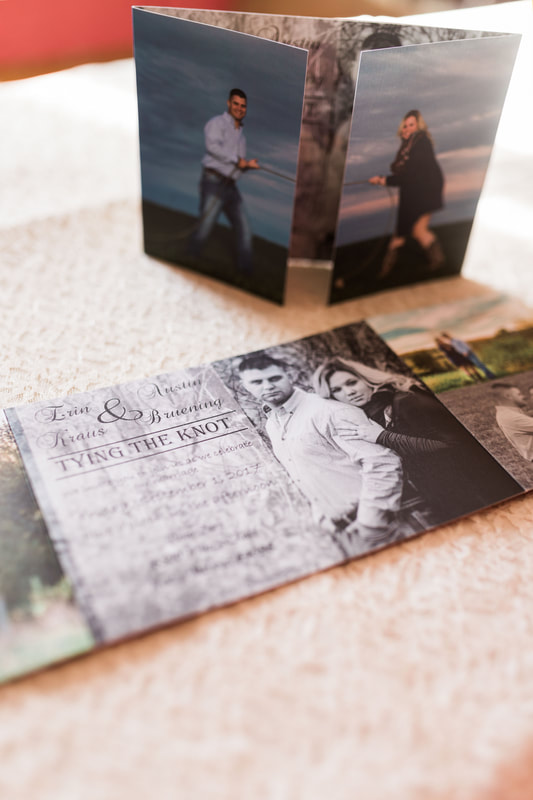 Starting a business is a huge decision. It takes time and money and a lot of both. I always wanted to be my own boss but was too afraid to jump in and do it. I went back to school and earned my MBA. That made me want to start my own business even more.
I began to soul search and see where my passion was. In order to know that I would keep myself motivated it needed to be something I could give all of myself to. I had done wedding invitations for friends and family after doing my own and loved it. I love weddings and really loved the design process of wedding invitations and knew that was the business for me. But I still was too scared to jump in. Then on June 21, 2016 it all changed. My normal 40-50-minute commute home from work turned into over 3 hours. That gave me the time to finally come to the conclusion that I had had enough of the 9-5 life and the commute that went along with it. My husband had already put our kids to bed by the time I got home which meant I didn’t see them at all that day because I left before they had woken up that morning. I walked in and said to my husband “we need to talk.” I explained to him that I had been thinking about it and was so frustrated with my commute that day. My awesome husband said “I love you. I support you. Do it.” So I was going to start my custom wedding stationery business. Luckily, I had a friend that had been a wedding photographer for 7 years. The next day I texted her and told her I needed to pick her brain. We got together a few days later and she passed on some wonderful information about starting a business, how to determine pricing, networking, marketing and how it won’t be easy. I was lucky to have my own Obi-Wan to help get me started. So I was on my way! I had what I wanted to do, why I wanted to do it, but I needed to know who I was going to be? My business needed a name. I knew I wanted “Printing” in the name so people would have a better idea of what I did. I decided I wanted to use a tree in the name because paper comes from trees. Apparently, a lot of people had the same idea! I had the hardest time finding a name that wasn’t already in use. I have always been intrigued by bonsai tree pruning so I thought it would be cool to use that. My favorite color is blue. So Blue Bonsai Printing LLC it was! Now that the major decisions had been made it was time to get on the roller coaster of business ownership. While it has had its ups and downs I have been loving every minute of it. I am happy to say that on June 14, 2018 (less than 2 years from when I started my business) I moved to being full time self-employed! It was super scary but it is what I had been working towards. So excited to say I made it. Now I am a year into doing my business as my full time job and I am loving every minute of it. Keywords: wedding, wedding business, invitations, invitations designs, my wedding 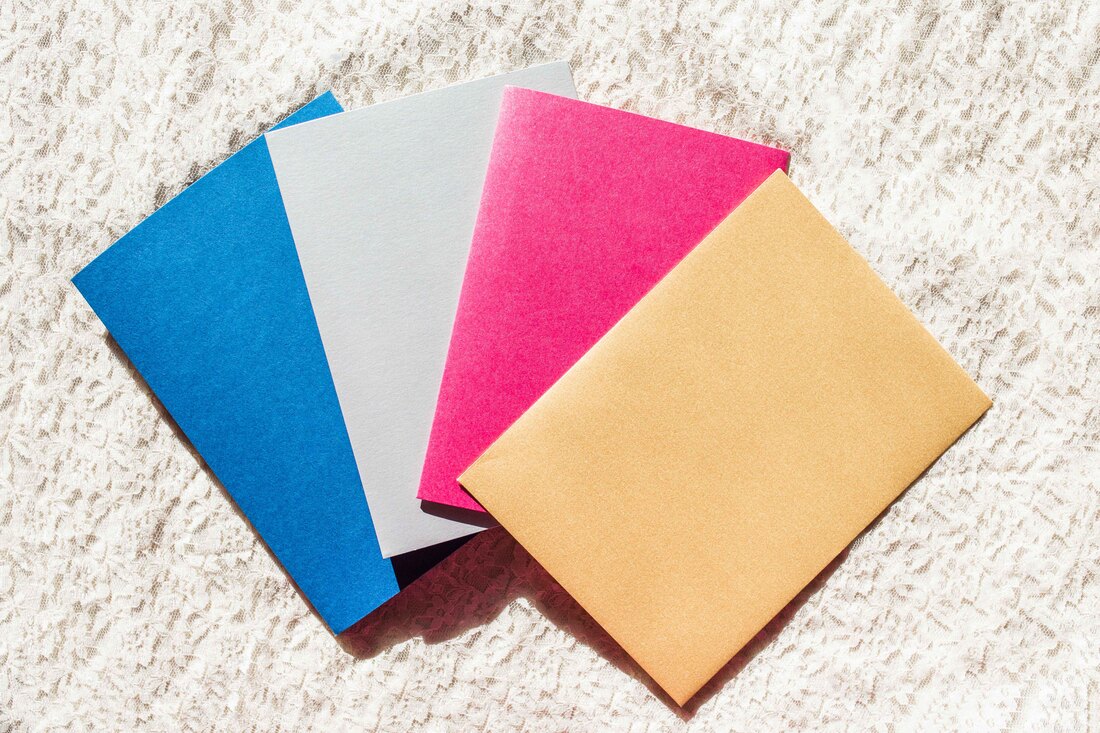 When addressing your wedding invitations there are some etiquette rules one should follow. Addressing your envelopes will be a time-consuming venture. It is a necessary evil and you will want to get started sooner rather than later. Instead of sitting down and doing them all in one sitting plan on doing 10-20 per day to avoid hand cramps. Here are a few things to remember when addressing your envelopes.
Photo by Marina Goktas Photography https://marinagoktas.com/ There is a lot of talk about card stocks when discussing wedding invitation design. A heavier card stock is always recommended but there are also double thick card stocks available. Here are some of the most common card stock weights. All weights mentioned are cover weight, not text (it makes a big difference).
Keywords: wedding, wedding budget, wedding invitations, invitation design, invitation, save the date, card stock |
|
|
© Blue Bonsai Printing, 2021